You are here: Before You Start > Prerequisites > Office 365 (Exchange Online) > How to edit or delete a Promodag application in Microsoft Entra ID
How to edit or delete a Promodag application in Microsoft Entra ID
Edit a Promodag application
Remove or revoke specific permissions
If you need to revoke some of the permissions of the Promodag Reports Application or a custom application because you do no longer need them, here is how to do:
-
Open the Azure AD portal at https://portal.azure.com/.
- Under Manage Microsoft Entra ID, click View.
- On the Overview page that opens, under Manage, select App registrations.
- On the App registrations page that opens, click All applications above the list.
- Search for applications whose name contains Promodag. You can also use the Application ID set in the Office 365 configuration tab of Tools > Options.
- Select the relevant application.
- On the app page under Manage, select API permissions.
- Under Configured permissions, click ... next to the permission you need to revoke or remove and select either Revoke admin consent or Revoke permission.

Note: The details of each of these permissions are described here: Office 365 permissions.
Replace or renew the certificate
The certificate generated by the PowerShell script delivered with Promodag Reports at the same time as the Promodag Reports Application published in Microsoft Entra ID is valid for two years, but you may wish to use your own or create a standard certificate with a longer expiry date.
Create a new standard certificate
Here is how to create a standard certificate with a longer expiry date:
- Open an elevated (run as administrator) Windows PowerShell session to create a self-signed certificate and export it to .cer and .pfx formats.
For example, here is how to create a self-signed certificate with the name “Promodag Reports App” with a validity period of three years from now on and P@ssw0rd1234 as password. The certificate will be stored in the personal store of the currently logged user.
$mycert = New-SelfSignedCertificate -CertStoreLocation "cert:\CurrentUser\My" -NotAfter (Get-Date).AddYears(3) -KeySpec KeyExchange -Subject "Promodag Reports RBAC Application"
- Once created, export the certificate under a pfx format with the password P@ssw0Rd1234. The pfx certificate will be used by Promodag reports as well as the password.
$mycert | Export-PfxCertificate -FilePath RepexRBACAppCertificate.pfx -Password $(ConvertTo-SecureString -String "P@ssw0rd1234" -AsPlainText -Force)
- Then export to a .cer certificate file that will be used by your Azure application.
$mycert | Export-Certificate -FilePath RepexRBACAppCertificate.cer
Skip this step if you plan to use your own certificate.
Replace the current certificate by the new one
Here is how to replace the certificate linked to a Promodag Reports application:
In Microsoft Entra ID (Azure):
-
Open the Azure AD portal at https://portal.azure.com/.
- Under Manage Microsoft Entra ID, click View.
- On the Overview page that opens, under Manage, select App registrations.
- On the App registrations page that opens, click All applications above the list.
- Click Promodag Reports Application. You can also use the Application ID set in the Office 365 configuration tab of Tools > Options.
- On the app page under Manage, select Certificates & secrets.
- Click
 next to the current certificate.
- Click Upload certificate and upload the new .cer certificate file.

In Promodag Reports:
- Copy and paste the .pfx file created at step 1 in the same directory as the previous one. By default, this location is C:\Users\Public\Documents\Promodag\Reports\
- Open Promodag Reports and go to Tools > Options.
- In the Office 365 configuration tab, select the new .pfx certificate file.
- Click Check validity to verify the settings of your new certificate.
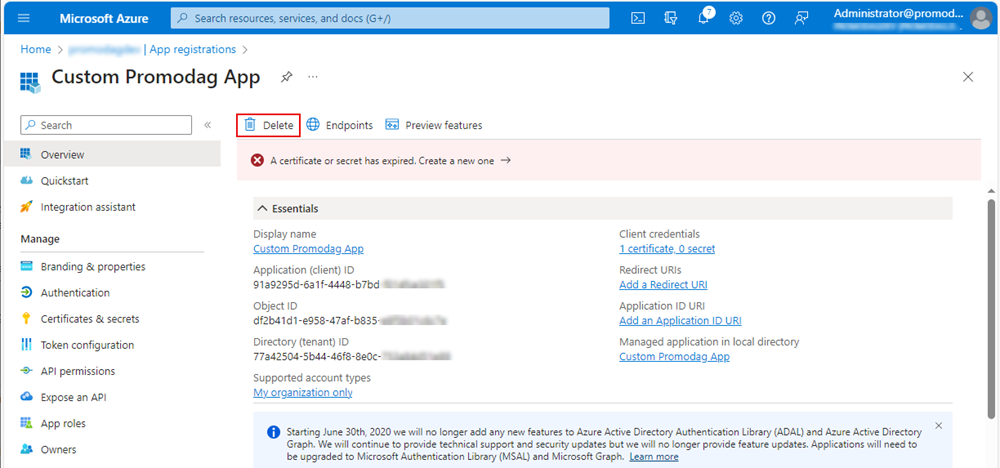
Delete a Promodag Reports application
This is the procedure to follow if you have uninstalled Promodag Reports and wish to remove any Promodag Reports-related application from Azure AD entirely:
-
Open the Azure AD portal at https://portal.azure.com/.
- Under Manage Microsoft Entra ID, click View.
- On the Overview page that opens, under Manage, select App registrations.
- On the App registrations page that opens, click All applications above the list.
- Search for applications whose name contains Promodag. You can also use the Application ID set in the Office 365 configuration tab of Tools > Options.
- Click the names of these applications and then click Delete.