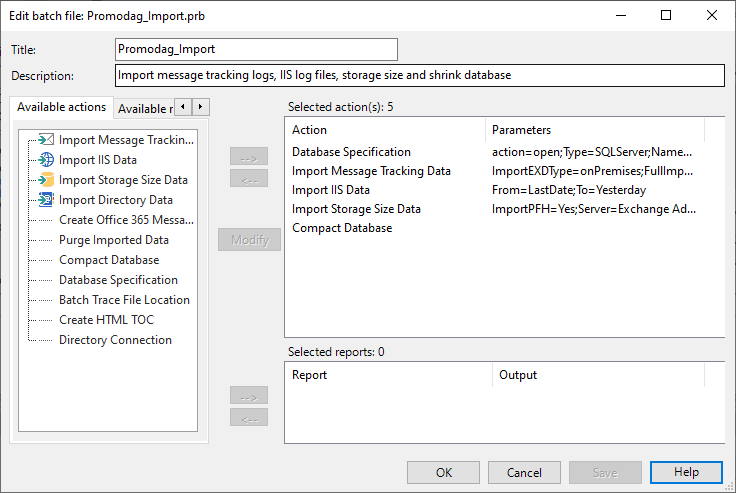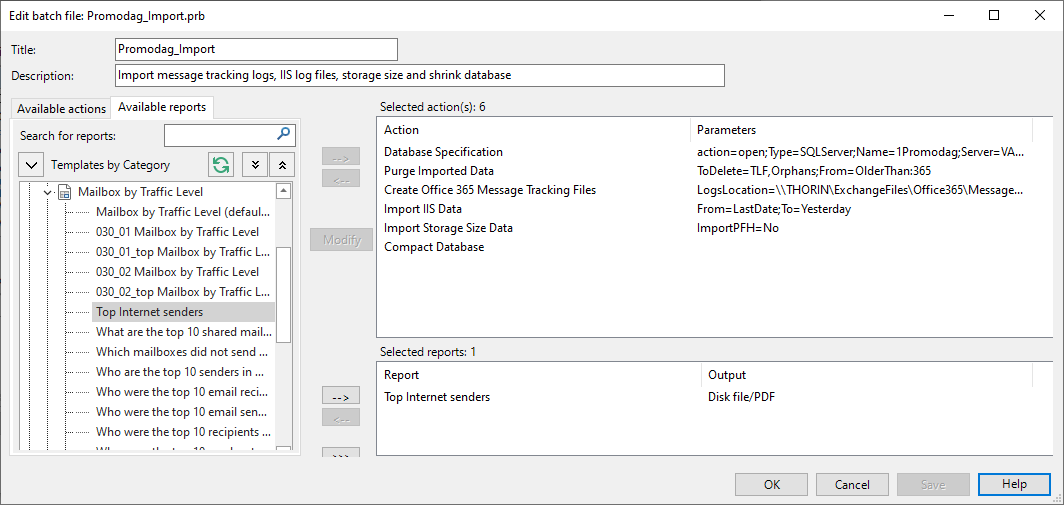
Use this option is to create and edit batch files in order to automate various actions, and report generation.
See also: Introducing batch files and report options files.

| Option | Description |
|---|---|
| Title | Enter a name for the current batch file. |
| Description | Enter a description for the current batch file, for example: 'Import message tracking files'. This is a non-mandatory field. |
| Available actions | This tab displays a list of actions you can add to your batch, for example Import Message Tracking Data and Compact Database. See Available actions in batch files. |
| Available reports | This tab displays a tree-like view of the available custom reports, similar to the Report Explorer. |


|
Use the arrow buttons to add or to remove some specific actions and reports into/from the current batch file. |


|
Use the triple arrow buttons to add or to remove all available actions and reports into/from the current batch file. |
| Selected actions(s), Selected report(s) | Also referred as 'the right pane', this pane displays the content of the batch file that is being edited, or created. |

|
Save the current batch file. |
The first step is to name the new batch file. You can also enter a description for this new batch.
In the Available actions tab, select actions from the left pane and move it to the right pane using the rightwards arrow.
In the Available reports tab, select reports from the left pane and move it to the right pane using the rightwards arrow. You must previously have created custom reports to have them displayed in the left pane.

Click the Save button to save your batch file and click OK to return to the Task Automation window.
See also: Automating and scheduling the generation of reports.
Note: The default path to batch files (*.prb extension) or report option files (*.pro extension) can be set in the General tab of Tools > Options.