 button to insert it into the right pane.
Promodag Reports can be configured to generate reports automatically by following these steps:
In the following example, we are going to create and schedule a batch file to automate the Mailbox by Traffic Level report we have learned to set up earlier (see Running your first report).
See the Save Report section above to review the method of creating report options files.
Should you need to automate a report by including it in a batch file, you will have to select another destination than Screen in the Output tab, e.g. Disk file or Email recipient. Screen output is not available for automated reports.
In the Task Automation window, click the Create button to open the Edit batch file option.
It is also possible to create a new batch file from an existing custom report using the Report Explorer context menu.
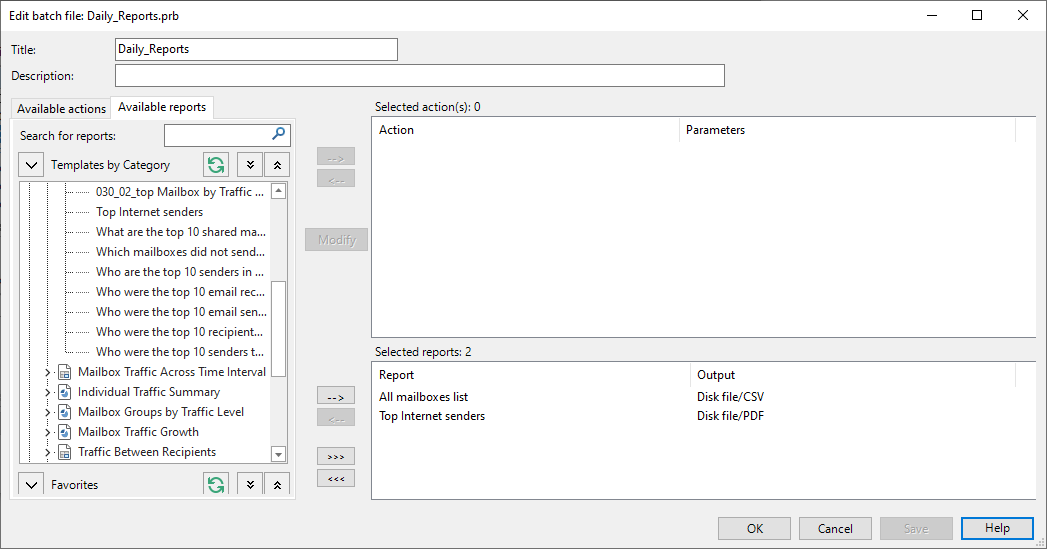
The Available reports tab of the Edit batch file window lists all custom reports available in the application along with the custom reports you may have saved as Favorites.
Locate the Top Internet senders custom report, that is based on the Mailbox by Traffic Level template.
Select the report options file entitled Top Internet senders and click the  button to insert it into the right pane.

Finally, click the Save button to save your batch file.
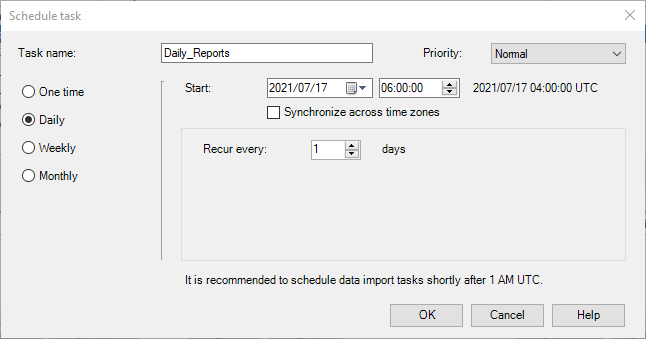
In the Task Automation window, select the batch you have just created and open the Schedule task option. In this example, we want to schedule DailyReports.prb.


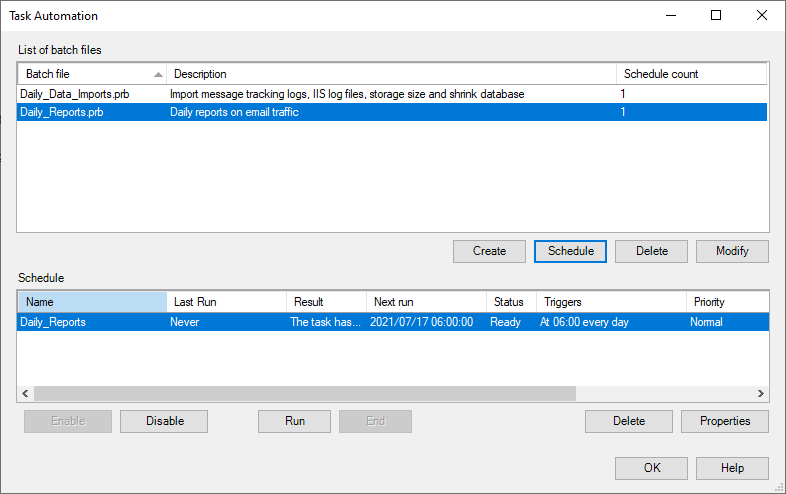
The new schedule is now displayed in the Schedule pane:

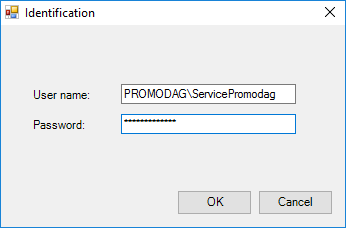
The Windows Task Scheduler starts Promodag Reports and it runs reports included in the batch file. From now on, reports will be automatically generated at the scheduled time.
Promodag Reports generates a trace file that contains information on what happened while the batch was running. Trace files can be automatically emailed.
You can directly enable, disable, run or end a scheduled task from the Tools > Task Automation window.