The next step is also the last one. There is generally no need to run this wizard again: you will be able to directly modify in Promodag Reports the options you selected in the Configuration Wizard.
| Step of the Configuration Wizard | Option |
|---|---|
| Create a database | File > New Database |
| Configure a connection to the directory | On-Premises configuration tab of Tools > Options, Directory Connection. |
| Configure a connection to Office 365 | Office 365 configuration tab of Tools > Options. |
| Select data sources to import | From the main window, double-click your server(s) in the organization tree to open the Server Properties dialog box. You can also access it by using the File menu:
|
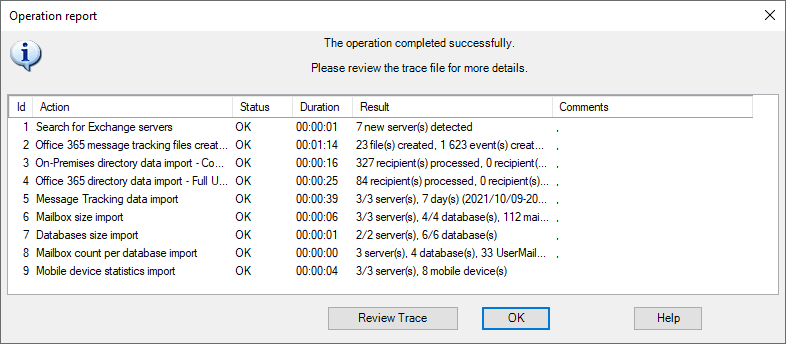
Click Finish to start importing data. The complete process includes all previously configured steps, and can take some time depending on your selections.
Note: Import options may be saved in a batch file, so that the import process can be automated and scheduled at your convenience. See Automating and scheduling the collection of data and other actions .
Promodag Reports
Each operation finishes off by displaying an operation report dialog box. A trace file is also recorded and can be used to troubleshoot possible errors or resolve various configuration issues. If you need to do so, use the Consult Trace Files option to view the content of the last trace files.